Even if this is your first time Setting up a virtual machine, don’t worry this guide walk you through the step by step to have your first virtual machine.
But before we get into the installation, I must tell you that this tutorial is strictly for educational purposes. I am not responsible for any damages you may cause using the insights gained from this tutorial. You bear full responsibility for your actions.
Kali Linux is a version of Linux made for cyber security work it comes packed with all the tools you need for penetration testing, so you don’t have to search for them. VirtualBox is free software that lets you run a whole operating system inside your current one. Using them together gives you a safe space to practice without risking your main computer.
Now that we have covered what Kali linux and Virtualbox are, it’s time to dive in.
1. Download and Install VirtualBox on Windows
-
Visit the official VirtualBox website.

2. Navigate to the Downloads section and select the version for Windows hosts.

2. Install VirtualBox
- Once the installer is downloaded, double-click the file to launch it.
- Follow the on-screen instructions: Accept the default settings for most users. Allow the installation of VirtualBox network adapters when prompted.
- Click Install and wait for the process to complete.
- Click Finish to exit the installer.
- VirtualBox will open automatically.

Now that VirtualBox is installed and ready, it’s time to get Kali Linux up and running.
Before we dive into installing Kali Linux, there are two ways you can do it in VirtualBox: you can either install it using the Kali ISO file, or you can run a pre-built Kali Linux virtual machine that’s ready to go.
- Installing with the Kali ISO: This method is like doing a fresh installation of Kali Linux on your virtual machine (VM). You get full control over the setup from disk size to desktop environment and it’s a great way to learn more about how Linux works.
- Using a Pre-Built Kali VM: This option gives you a ready-to-use virtual machine with Kali already installed and configured. It’s faster and easier, perfect if you just want to start practicing cyber security tools without worrying about installation details.
I will walk you through both options so you can choose the one that works best for you.
Prerequisites
- VirtualBox installed.
- 2 GB of RAM or more available for VM creation.
- 25 GB of free disk space.
Installing Kali Linux Using the ISO File
Step 1: Download Kali Linux ISO Image
Kali Linux provides ISO files for different system types: 32-bit, 64-bit, and ARM64. To download your ISO file:
- Go to the Installer section on the official Kali Linux website.
- Pick the version that matches your computer’s system (64-bit, or ARM64), and click the download button at the bottom-left of the installer card.

Step 2: Create Kali Linux VirtualBox Instance
Create a new virtual machine and configure it to run Kali Linux. Proceed with the steps below to correctly set up a Kali Linux VM in VirtualBox:
-
Start VirtualBox Manager and click the New icon.

2. Specify a name for the VM and provide the path to the ISO image. Select Next.

3. Select the amount of memory and the number of virtual CPUs to allocate to the VM. The minimum recommended values for Kali Linux are 2 GB of RAM and 1 CPU. Select Next when you finish setting up the VM hardware.
Pre

4. Create a virtual hard disk for the new VM. The recommended hard disk size is at least 25 GB. Click Next to proceed to the next step.

5. Review the new VM setup on the Summary page. Select Finish to create the virtual machine.

The VM appears on the list in VirtualBox Manager.
Step 3:Start and Configure Your Kali Linux Virtual Machine
-
Select the Kali linux instance created and Click Start to begin installing Kali Linux.
Press enter or click to view image in full size

When the new Kali linux VM is started, the Kali Linux installer menu appears. Follow the steps below to get it up:
1. Select the Graphical install option.

2. Pick the language you want to use this will be the default language during the installation.

3. Select your country from the list (or choose ‘Other’ if it’s not listed).
4. Choose the keyboard layout that matches your setup.
5. This will start installing and configuring the essential components according to the provided information:

Step 2: Set Kali linux User
Next, you will be asked to set up a user for Kali Linux. Start by entering a Hostname for your machine, then click Continue.

Next, enter a domain name for your system and click Continue. For example, we used ‘Kali Linux’ as a dummy domain name.

Now, create a new user for your Kali Linux VM. Enter a username and click Continue.

Set a password for your user account and type it again to confirm. Then click Continue.

5. Select the correct time zone from the available options and click continue.

Step 3: Create Hard Disk Partitions
Now it’s time to set up your virtual hard disk. Follow these steps:
1. Choose how you want to partition the disk. The easiest option is Guided - use entire disk.

2. Pick the disk you want to use. The only available option will be the disk created during the VM creation.

3. Choose the partitioning scheme. The default, All files in one partition, works fine.

4. You will see an overview of the partitions. Make sure Finish partitioning and write changes to disk is selected.

5. Confirm by choosing Yes on the next screen.

The wizard starts installing Kali.
Step 4: Customize Your Kali Linux Installation
Once the core system is installed, you can customize Kali to fit your needs. Here’s how:
1. Pick the desktop environment and any extra tools you want to install, or just click Continue to use the default options.

2. Decide if you want to use a network mirror.
3. If you have an HTTP proxy, enter it; otherwise, leave it blank.
4. Install the GRUB bootloader on the hard disk choose Yes and click Continue.

5. Pick a bootloader device to make sure your system can start properly.

When Kali finishes installing, you will see a message saying the installation is complete.
6. Click Continue to reboot your VM. After rebooting, the Kali login screen appears.
7. Enter the username and password created in the previous steps.
The Kali Linux desktop appears on the screen.

If you don’t want to go through the full installation process, there is a quicker option. Instead of installing Kali from the ISO, you can use a pre-built Kali Linux virtual machine that is already set up and ready to run in VirtualBox. Let’s go through how to do that.
Installing Kali Linux Pre-Built VM on VirtualBox
A faster way to get Kali Linux running is to use a pre-built VirtualBox image. In this part, I will show you how to download the pre-built image and run it in VirtualBox, so you can start using Kali right away without going through the full installation process.
1. Visit the Pre-built VMs page on the official Kali Linux website.
2. Choose the version that matches your system, then click the download button on the VirtualBox section to get the pre-built file

3. Wait for the file to download, then unzip it winrar to a directory of your choice.
4. Open VirtualBox Manager and select the Add button in the top menu.

5. find the virtual machine file you downloaded that you unzip. Double-click the file to open it.

A Kali Linux VM instance appears in the menu on the left side of the screen.
6. Select the instance and click the Start button in the top menu.

Wait for the system to boot up.
7. On the login screen, enter the username kali and the password kali to sign in.
And that's it, you're done! I hope you enjoyed this one.
Subscribe to our newsletter to get notified when we publish similar content.
Related Tutorials
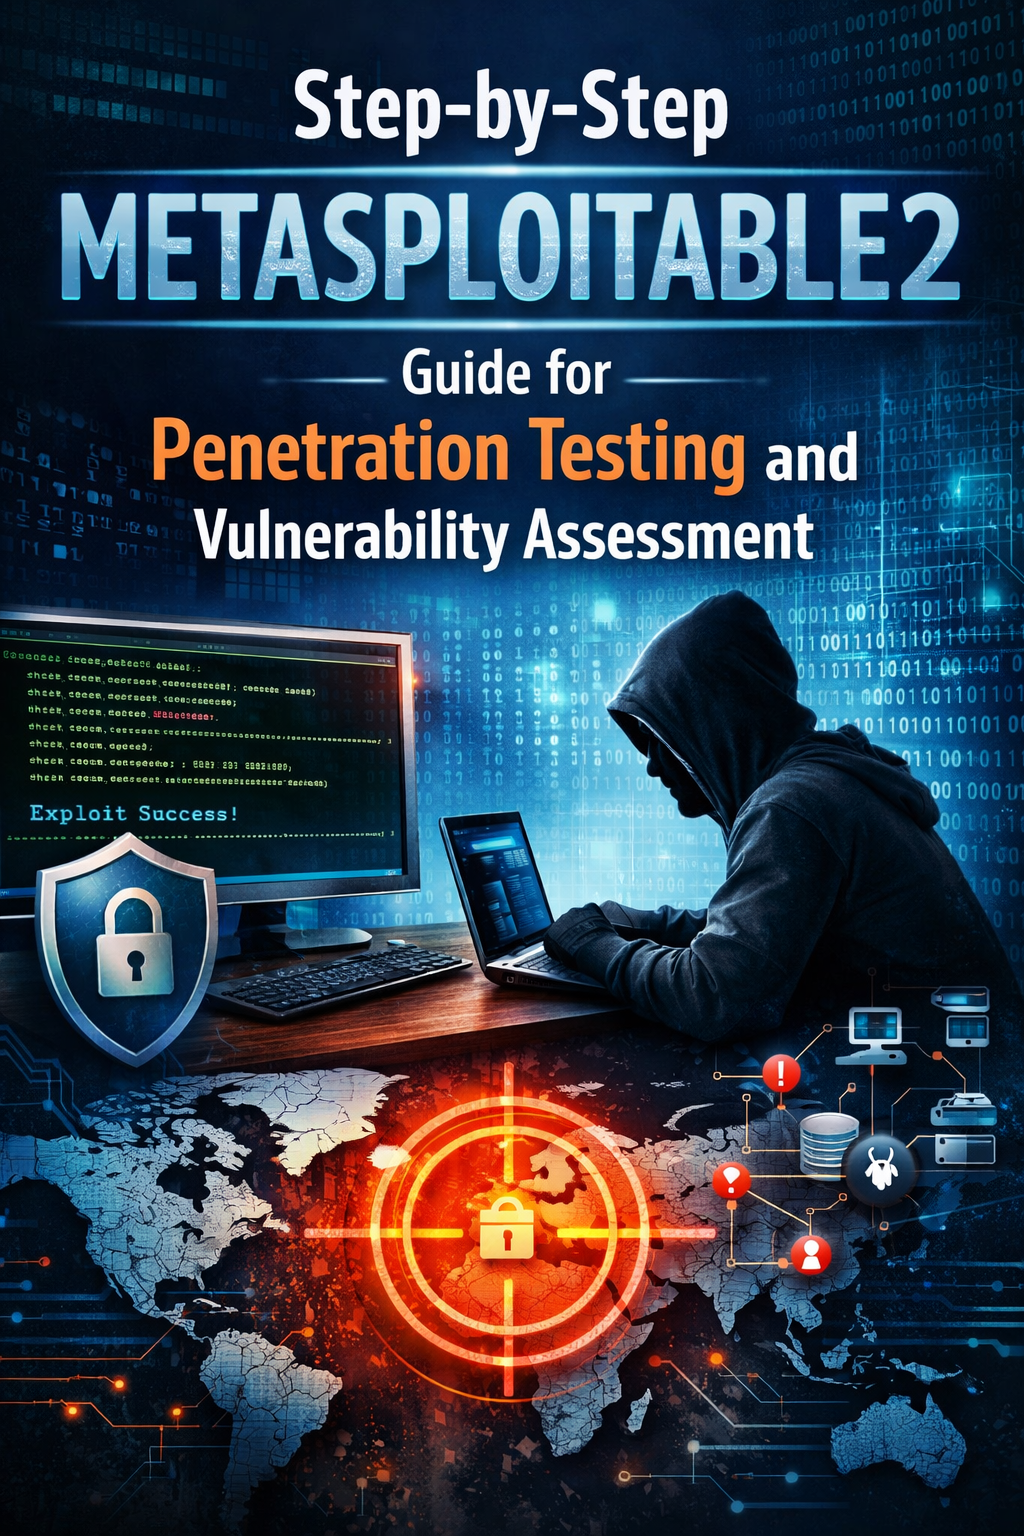
Step-by-Step Metasploitable2 Exploitation Guide f…
A complete, beginner-friendly penetration testing tutorial for cybersecurity st…
Read Tutorial
Preparing for Your Next Web Pentest
A practical guide to pre-attack reconnaissance: setting engagement rules, Googl…
Read Tutorial
How to Crack Locked PDFs
Learn how to crack password‑protected PDFs using pdfcrack. This concise guide c…
Read Tutorial


Discussion (0 comments)
Join the Discussion
No comments yet
Be the first to share your thoughts on this tutorial!